Artists & Venues
Artist profiles and venue records are foundational building blocks in the Creator Studio. Every event instance requires an assigned artist, and every event needs a venue. Setting these up before creating events ensures a smooth workflow.
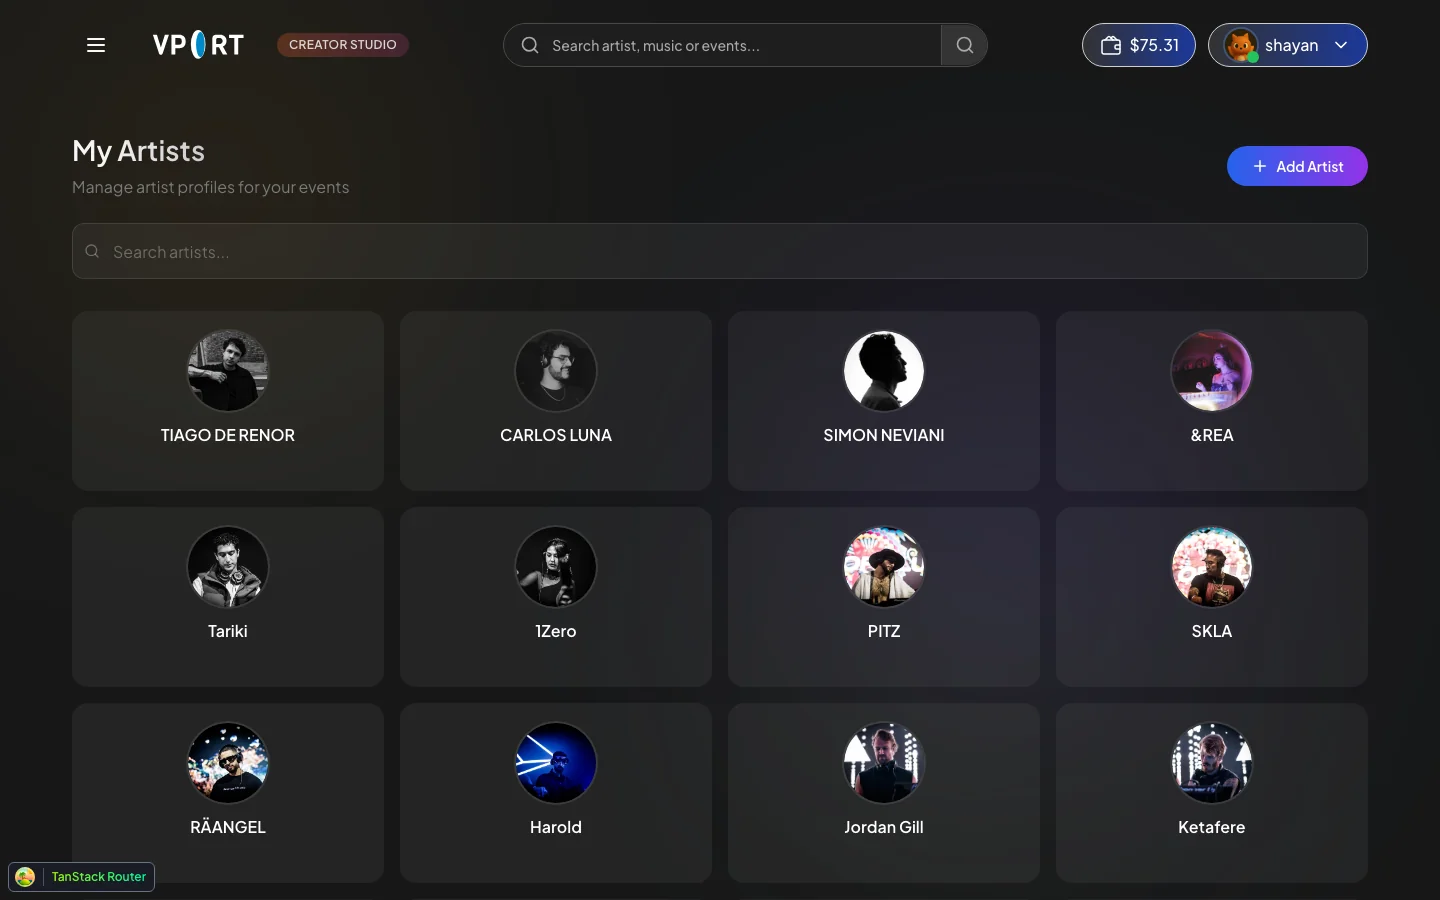
My Artists
The My Artists page displays the heading "My Artists" with the subtitle "Manage artist profiles for your events." A search bar at the top lets you filter artists by name, and a green + Add Artist button in the top-right corner starts the artist creation flow.
Your artists are displayed as a grid of cards, each featuring a circular avatar image and the artist's name beneath it. You will only see the artists you have added yourself -- this is your personal roster, not a directory of all artists on Vport. As you build your roster, you will see profiles such as TIAGO DE SENOIR, CARLOS LUNA, SIMON NESIANI, &REA, Tanki, Ujers, PITZ, SALA, RAANGEL, Harold, Jordan Gill, and Katalyne -- all laid out in a clean, browsable grid.
Adding an Artist
Artist creation follows a two-step process:
Step 1 -- Details
Click the + Add Artist button to begin. Fill in the core information:
- Name -- The artist's display name as it will appear across the platform.
- Description -- A biography or summary of the artist. Include background, notable achievements, and style to give viewers context.
- Genres -- Tag the artist with one or more genres (for example, electronic, hip-hop, jazz). Genre tags help with discovery and filtering.
Step 2 -- Media
After saving the initial details, you will be prompted to upload media assets:
- Avatar -- A square or circular profile image representing the artist. This appears on cards, listings, and instance pages.
- Banner -- A wide header image displayed at the top of the artist's profile page.
- Photo Gallery -- Upload additional photos to create a gallery on the artist's profile. You can reorder images by dragging them into your preferred sequence and add captions for context.
My Venues
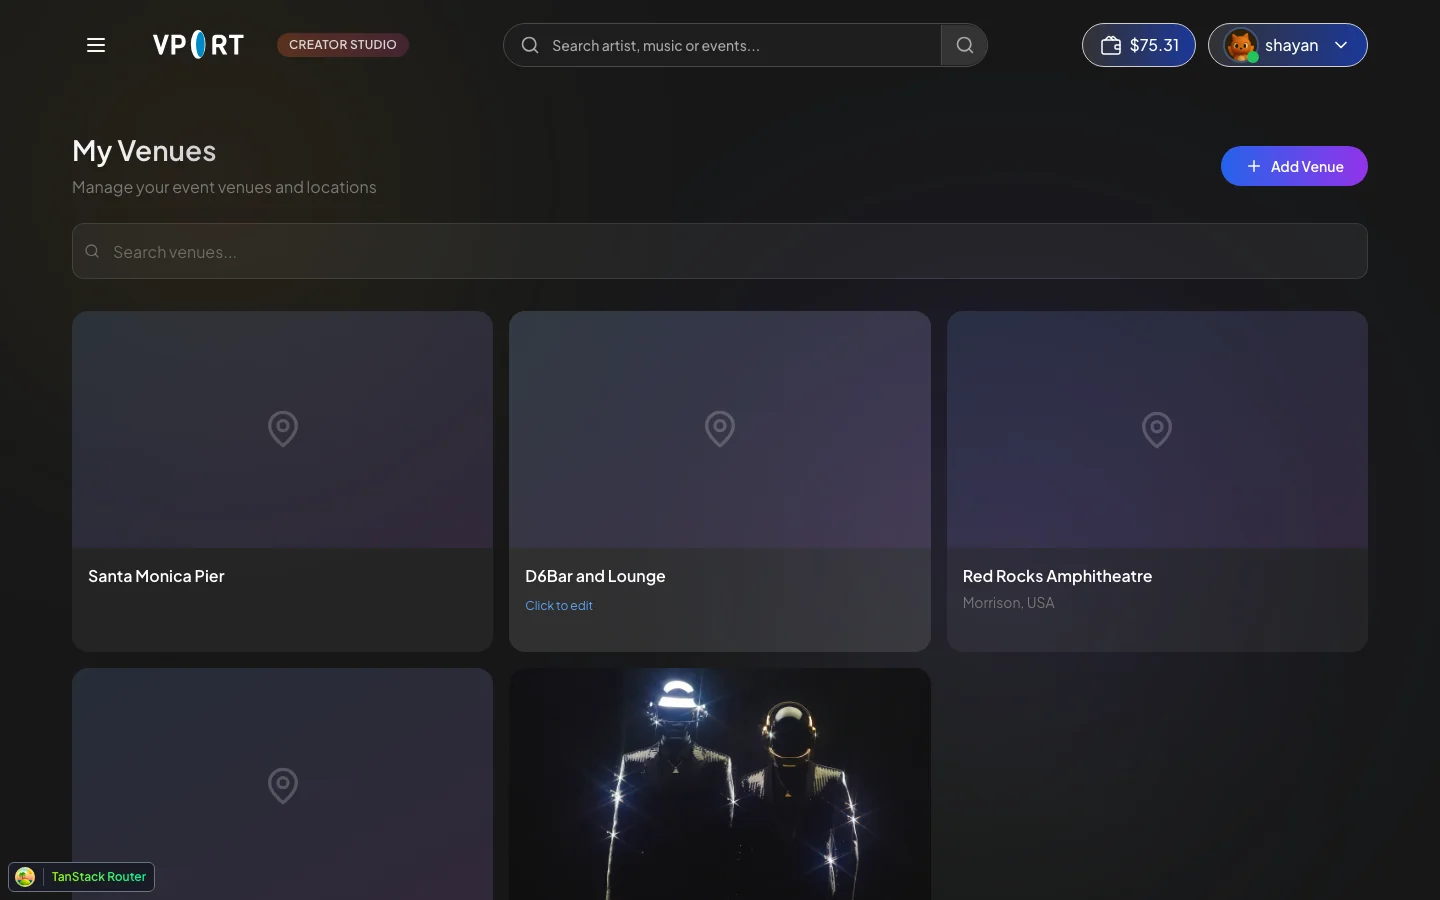
The My Venues page displays the heading "My Venues" with the subtitle "Manage your event venues and locations." A search bar lets you filter venues, and an orange + Add Venue button in the top-right corner opens the venue creation form.
Venue cards display a banner image across the top, a location pin icon, the venue name, and the city and country. Each card also includes a "Click to edit" link for quick access to the venue editor. You will only see the venues you have added yourself -- this is your personal list of venues, not a directory of all venues on Vport. Example venues you might see include Santa Monica Pier, D6Bar and Lounge, and Red Rocks Amphitheatre.
Adding a Venue
Click the + Add Venue button and complete the following fields:
- Name -- The venue's official name.
- Address -- The street address of the venue.
- City -- The city where the venue is located.
- Country -- The country where the venue is located.
- Capacity -- The maximum audience capacity.
- Working Hours -- The venue's standard operating hours.
- Bandwidth Specs -- Document the available internet bandwidth at the venue. This is important for planning live stream quality and reliability.
- Description -- A written overview of the venue, covering its history, character, or any details relevant to event planning.
- Banner Image -- Upload a hero image for the venue's profile page.
- Photo Gallery -- Add photos of the venue to help creators and viewers visualize the space.
- Stages -- Each venue can contain one or more stages. Stages represent distinct performance areas within the venue. Add stage names during venue creation, and they become available as options when setting up event instances.