
Event Instances
An event instance is an individual performance or broadcast inside a parent event. Each instance can have its own schedule, artists, stage, pricing, visibility, thumbnail, and footage.
Instances are managed inside the event editor. They do not have a separate top-level Creator Studio page.
Create an instance
- Open My Events and edit the parent event.
- Stay on Event Details and select Add Instance.
- Enter the instance name and description.
- Select a stage after choosing the event venue.
- Select the pricing tier and assigned artists.
- Set start and end times.
- Choose headliner and visibility settings as appropriate.
- Add an instance thumbnail and save the event.
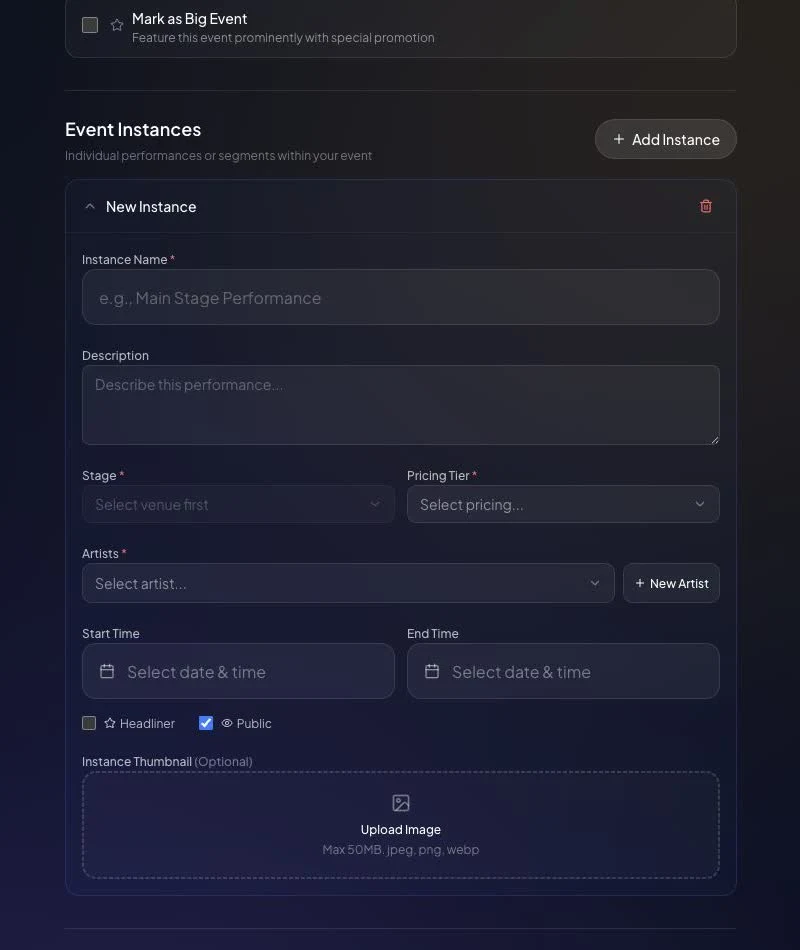
The pricing tier determines the price information shown to viewers. Review it before making the instance visible.
Add footage
After the instance has been saved, open Video Upload, find the instance, and select Add Video. Additional camera angles can be added with Add Another Angle.
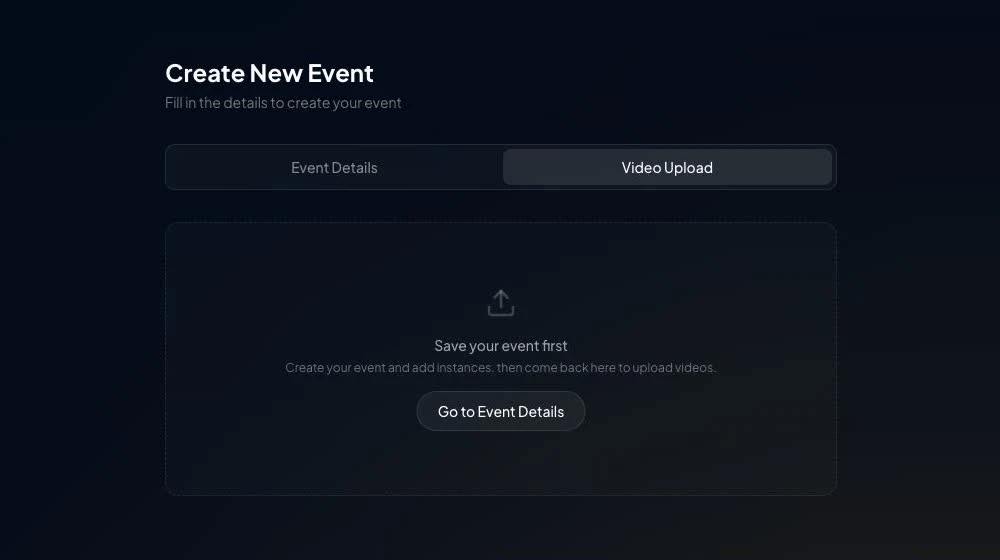
Choose the source type, stereo layout, and projection that match the uploaded material. See Event Footage Uploads for the supported workflows and processing stages.
Manage an existing instance
Return to Event Details to update its metadata, schedule, pricing tier, artists, or visibility. Removing an instance is destructive and can affect its associated footage, so confirm the target before deleting it.
When footage is reported as live, Creator Studio can expose Watch live for that instance. Ready on-demand footage can be reviewed through the viewer-facing event flow.
For a schedule, price, or footage mismatch, contact VPORT Support with the parent event, instance name, time, current values, and screenshot.