Getting Started
Welcome to the VPORT Creator Studio. This guide walks you through the interface and helps you get up and running with your first event.
What is Creator Studio
Creator Studio is a web-based management platform where content creators organize, publish, and monitor immersive concert experiences. From live-streamed performances to on-demand replays, it gives you full control over your events, artists, venues, and revenue from a single dashboard.
When you sign in, the top navigation bar displays the VPORT logo alongside a CREATOR STUDIO badge, confirming you are in the creator workspace. The navbar also includes a search bar for finding content quickly, your wallet balance (for example, $75.31), and your user avatar for account access.
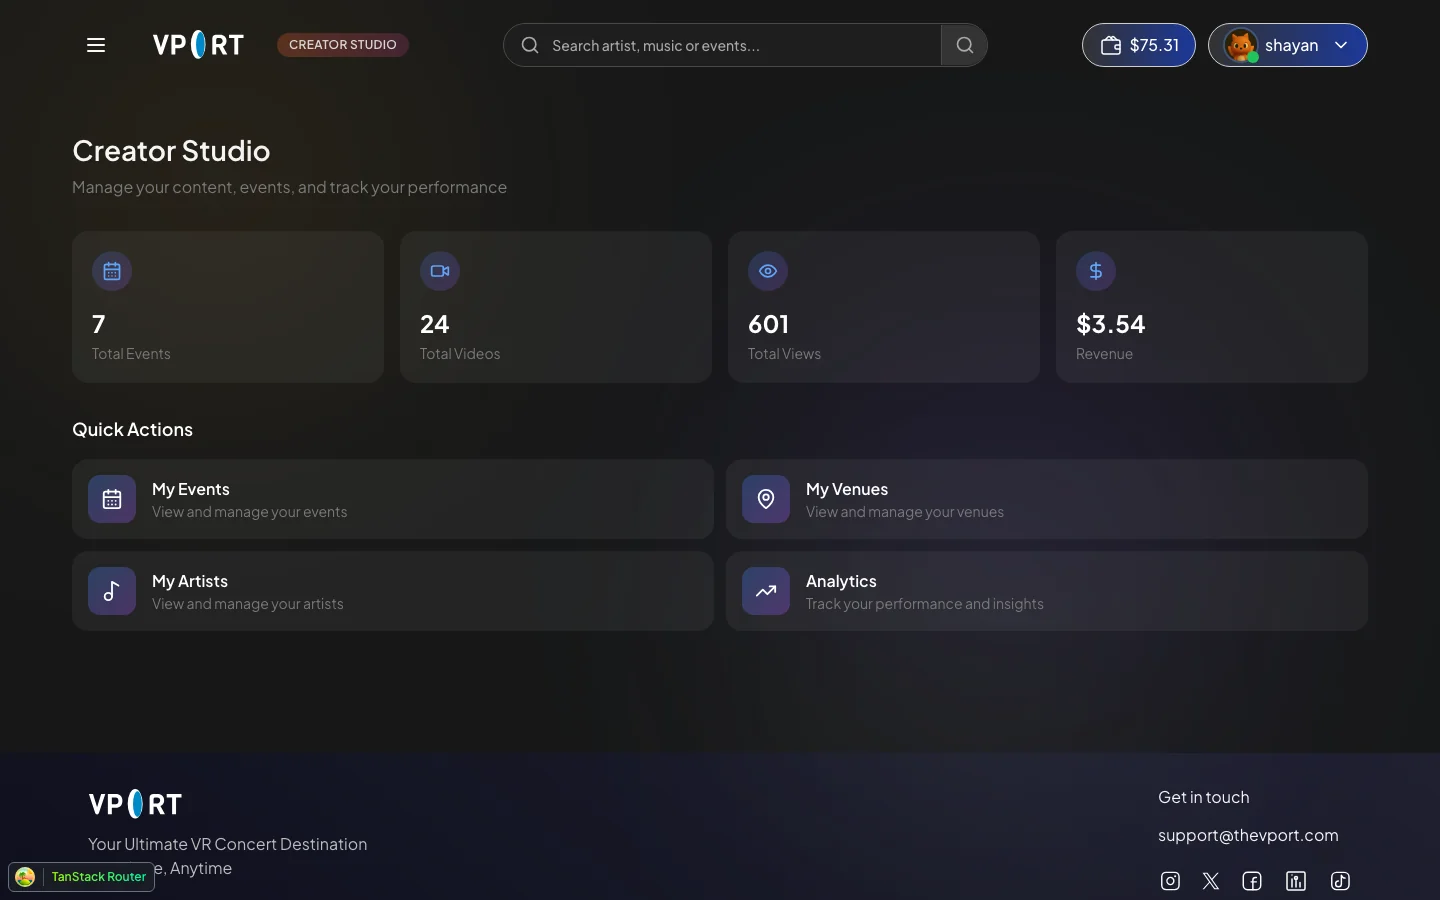
The Dashboard
The dashboard is your home base. At the top of the page you will see the heading Creator Studio with the subtitle "Manage your content, events, and track your performance."
Below the heading, four stat cards give you an at-a-glance summary of your activity:
- Total Events -- The number of events you have created (e.g., 7).
- Total Videos -- The number of videos across all your events (e.g., 24).
- Total Views -- Cumulative views across all content (e.g., 601).
- Revenue -- Your total earnings to date (e.g., $3.54).
Beneath the stats, a Quick Actions section presents four cards that link directly to the most common tasks:
- My Events -- View and manage your events.
- My Venues -- View and manage your venues.
- My Artists -- View and manage your artists.
- Analytics -- Track performance and insights.
Each card acts as a shortcut so you can jump straight into the section you need without navigating the sidebar.
Navigation
The Creator Studio uses a hamburger menu in the top navigation bar to open the sidebar. The sidebar provides access to every section of the platform: Dashboard, Events, Videos, Venues, Artists, Analytics, Earnings, and Settings. The sidebar remains consistent across all pages, so you can switch between sections at any time without losing your place.
Getting Started Checklist
Follow these steps to publish your first event on VPORT:
- Add venues -- Go to My Venues and register at least one venue where your event will take place. Include the address, capacity, and at least one stage.
- Add artists -- Go to My Artists and create profiles for the performers in your lineup. Upload avatars, write bios, and tag genres.
- Create your first event -- Go to My Events and click + Create Event. Fill in the event details, assign a venue, and add event instances with artist assignments.
- Track performance in Analytics -- Once your event is live or published as VOD, head to Analytics to monitor views, watch time, unique viewers, and revenue.
With these four steps complete, you are ready to start publishing immersive concert content to your audience. Continue to the Managing Events guide for a detailed walkthrough of event creation.