
Wallet & Payments
Open Wallet from the bottom navigation or select the balance in the Home header.
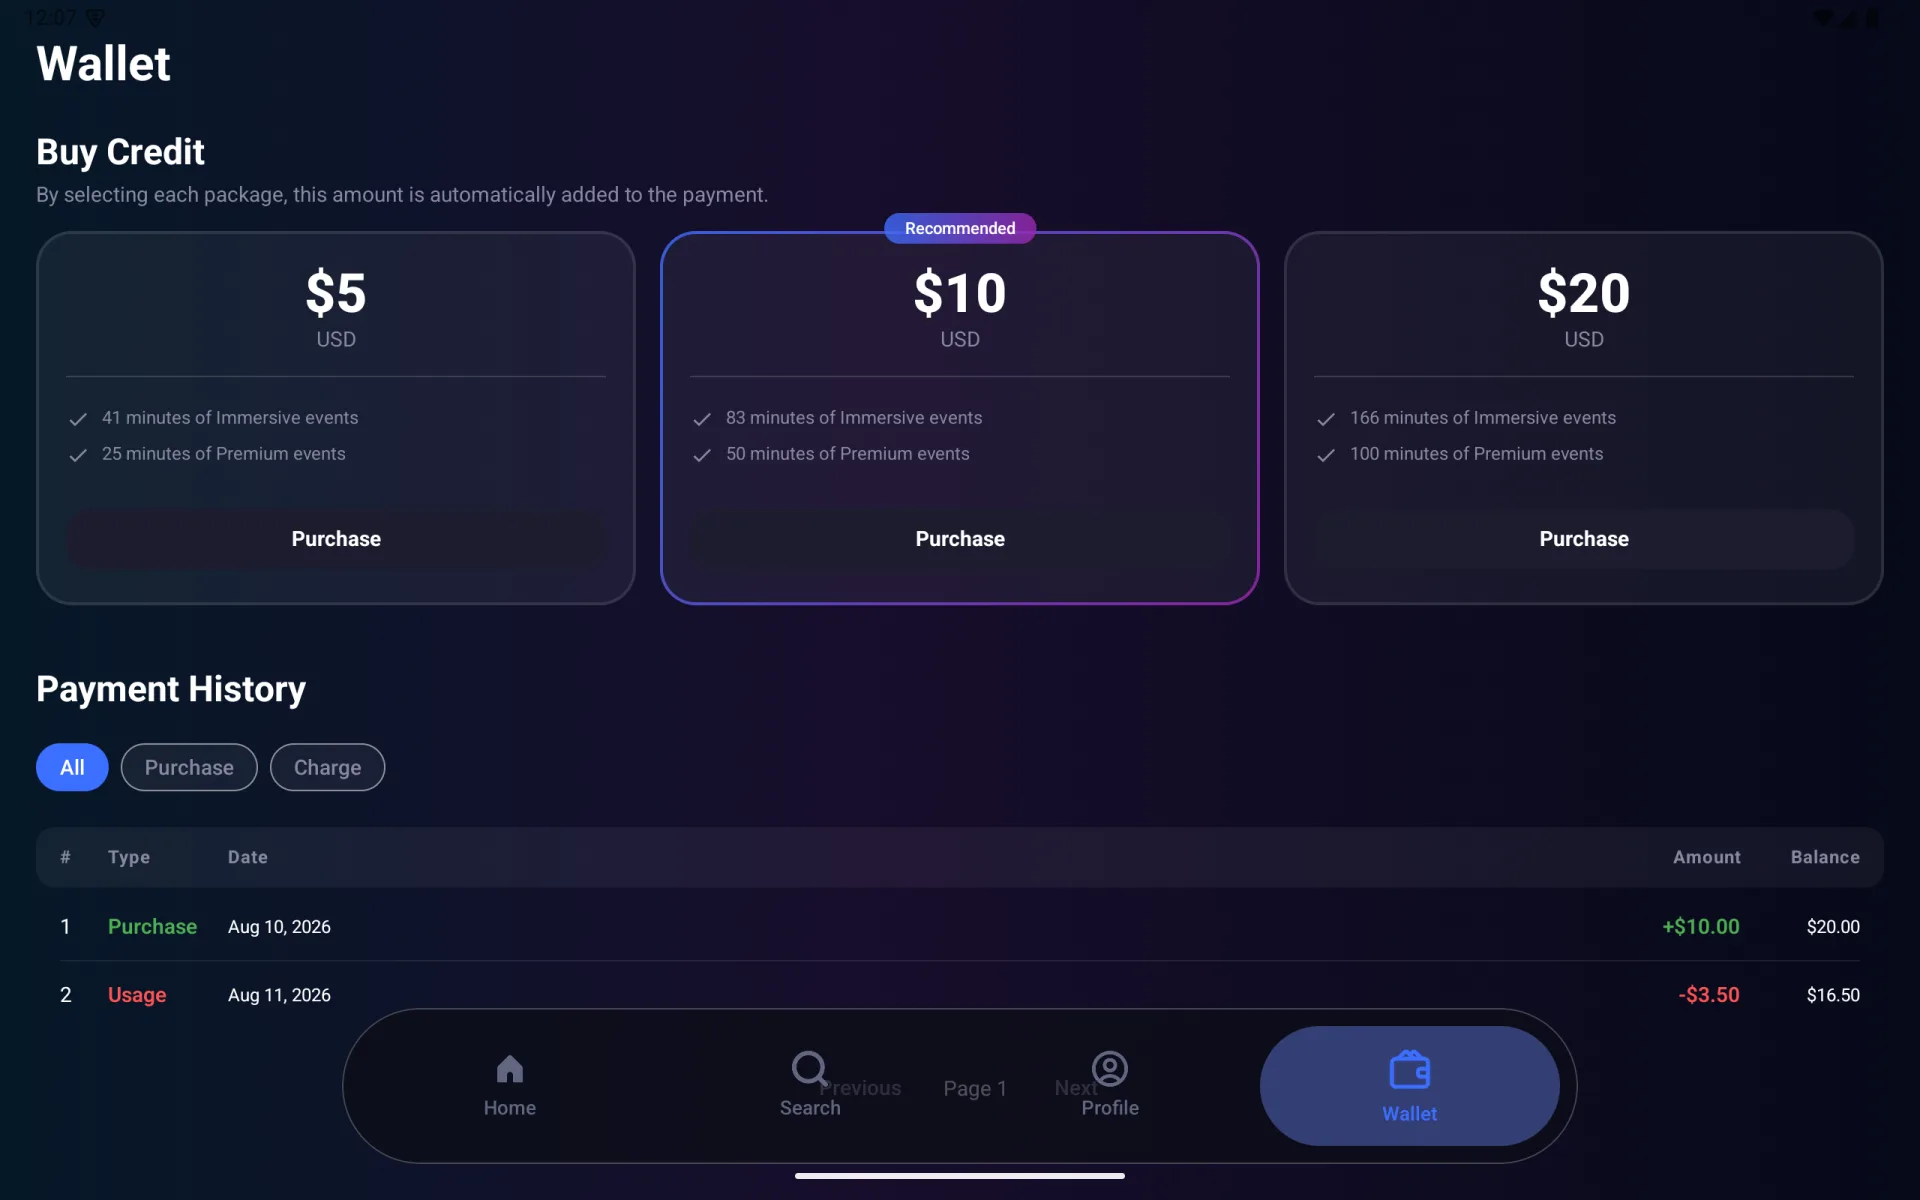
Buy credit
- Review the available packages and their estimated minutes for each pricing tier.
- Select Purchase on the package you want.
- Review the product and final price in Meta checkout.
- Confirm the purchase in Meta checkout.
Meta checkout is the final source for the product and charge. Cancel if its product or price is not what you expected.
After checkout, VPORT confirms the purchase and refreshes Wallet. If a Purchase confirmation pending notice appears, reopen Wallet with a stable connection and allow the app to retry. Do not immediately buy the same package again.
Review payment history
Use the filters above the table:
- All
- Purchase
- Charge
Each row shows the transaction type, date, amount, and resulting balance. Purchases add credit. Usage charges show how much credit playback used. Use Previous and Next when more pages are available.
Understand paid playback
Playback confirmation uses the displayed per-minute rate and current balance:
- With enough credit, select Teleport.
- With partial credit, the confirmation can show the minutes currently covered and offer Wallet.
- With no available credit, choose Watch free events or Charge Wallet.
- Guests must sign in or create an account before paid playback.
Your Home balance shortcut updates after VPORT receives the confirmed wallet balance.
Purchase help
- If checkout is cancelled, begin again only when ready.
- If confirmation is pending, reopen Wallet before attempting another purchase.
- If Meta shows a completed charge but VPORT credit does not appear after Wallet retries, contact Support with the package, approximate time, and Meta receipt or order reference.
- Never send a complete payment-card number to Support.
See the Credit & Billing Hub for additional billing help.