
Meta Quest 3 VR Concerts: Setup and Viewing Guide 2026
Before starting a concert on Meta Quest 3, check four things: access to the app, the performance's price, its supported format, and how a short test plays on your headset. A recording viewed in a headset is not necessarily a look-around or stereoscopic experience.
This guide covers VPORT's native Quest app, then explains how to assess a separate browser-based service. Available performances, prices, app access, and playback modes can change. Check what your account and installed version actually offer before paying or planning around a particular event.
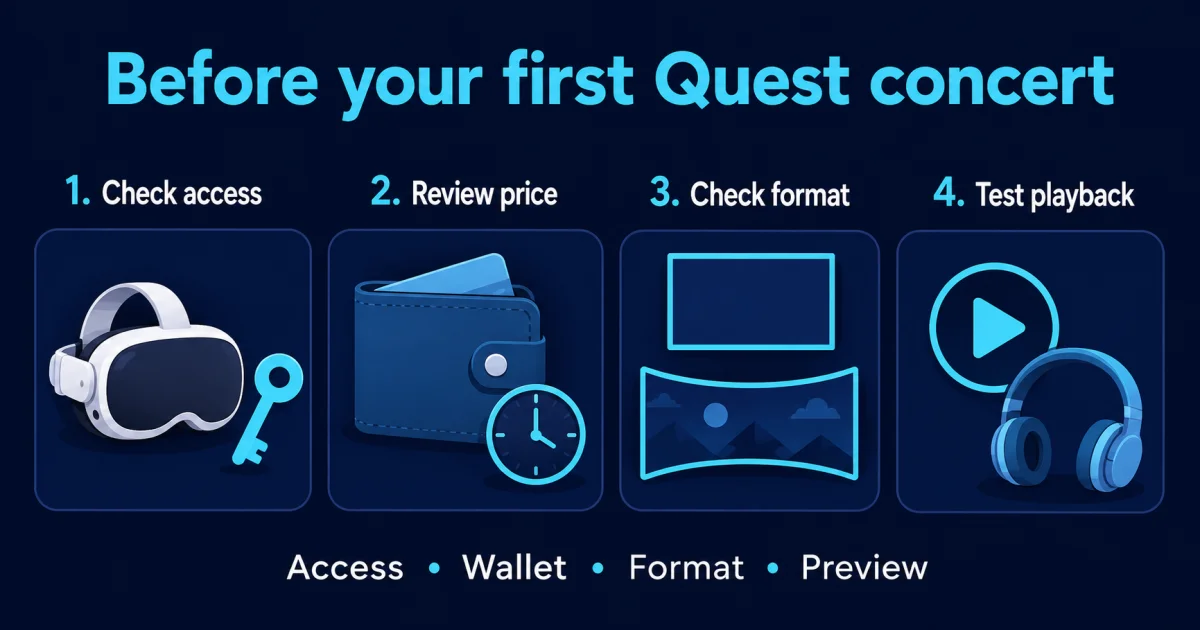
Original AI-generated editorial checklist, not a screenshot of the VPORT app or a promise of event availability.
Install and sign in
VPORT's Meta Quest page describes its headset experience. If you do not already have the app, confirm the current installation route with VPORT Support at support@thevport.com. This guide does not establish a publicly searchable Meta Horizon Store listing or availability in every region. Once installed, open VPORT from your headset's app library.
When VPORT opens, enter your username or account email and password, or select Create Account. Account creation asks for first name, last name, email, username, password, and password confirmation. Review the Privacy Policy and Terms & Conditions before accepting them; marketing consent is optional. Complete any additional verification requested on screen.
The main navigation has four destinations: Home for discovery; Search for available performances, events, and artists; Profile for account settings; and Wallet for credit packages and payment history.
Full sign-in details are in the Meta Quest getting started guide.
Review the price before adding credit
Browse first and review the selected performance's playback confirmation. Paid playback uses the displayed per-minute rate; free content can offer Teleport without a wallet charge. Do not infer a price, camera model, resolution, or audio format from a tier name alone.
For paid content, the confirmation may show how many minutes your balance covers. Partial credit can still offer Teleport alongside Charge Wallet, but the service checks playback eligibility separately. If playback rejects your balance despite an available button, follow the message or contact Support. Starting playback is not proof that your balance covers the whole performance. Do not rely on a precisely timed automatic stop as a spending control.
If you choose to add credit, open Wallet, review a package, and select Purchase. Buying credit is itself a purchase, separate from later playback usage. Check the product and final price in Meta checkout before confirming. If purchase confirmation is pending, reopen Wallet with a stable connection before buying again.
The Wallet & Payments guide explains checkout, pending confirmations, and payment history. Follow the current on-screen rate rather than budgeting from fixed prices in an older article.
Find a set
Home can show featured, live, free, popular, and recently watched content. The rows and available performances depend on the current catalog; this guide does not promise a recording from any particular city, venue, or artist.
Try an artist or event name in Search. Results can include live performances, artist sets, events, and artists. Open the relevant item and review the details and playback confirmation. Metadata varies: do not assume every card includes a duration, price, or complete format description. See Home, Search & Detail Pages for the current discovery flow.
For guidance on evaluating a recording before you commit, the on-demand concert checklist covers duration accuracy, format type, capture conditions, and access terms.
Start playback and enter the immersive view
Select a playable performance to open its confirmation. Review the performance, live or on-demand state, and displayed rate. Depending on the content and account state, the available actions can include Teleport, Charge Wallet, free-event discovery, or sign-in. Select Teleport when you are ready to start.
The panel player offers Watch in VR for supported 180-degree, 360-degree, or stereoscopic footage. Select it to enter the immersive player. That action does not create missing depth or recover views outside the camera's capture. Panoramic video lets you look around from the recorded camera position; it does not let you walk through a reconstructed venue.
The immersive control panel floats in your field of view and includes:
- Play, pause, and skip 30 seconds in either direction
- A seekable timeline
- A 360 viewing state toggle
- Volume control
- Lock, unlock, and reposition
- Exit to return to the panel view
The 360° control announces 360 viewing on or 360 viewing off. It is not a monoscopic-versus-stereoscopic or quality selector. Do not use that label as proof that the recording contains stereoscopic depth or that its encoded projection has changed.
To reposition the floating control panel, select Reposition, pinch and drag a panel edge to a comfortable position, and select Done. Lock position disables transport and timeline interaction while keeping Exit available. Unlock before using those playback controls again; locking and hiding the controls are different actions.
A full walkthrough of playback controls is in Watching Live and On Demand.
Audio and what to expect
Check both the app's volume and headset volume. If you use headphones, test them with the actual performance before a longer session. Listen for missing channels, distortion, and whether the sound remains comfortable as you turn.
Spatial-audio results depend on the source, player, headset runtime, and settings. Stereo playback or system spatialization is not proof that a recording preserves the venue's original directional sound field. This guide does not guarantee head-tracked concert audio for every performance; ask Support when a particular audio format matters to your choice.
Likewise, a camera's maximum recording specification is not the resolution delivered to your headset. Source footage, encoding, available stream quality, network conditions, and device decoding all affect the result. Judge a short test of the actual performance rather than treating a tier label as an 8K or stereoscopic guarantee.
The browser path for other services
VPORT is one platform in a growing field of immersive concert options. For services that publish to the web rather than through a native headset app, Meta Quest Browser is the access route.
The core process is the same: open the exact event URL, confirm sign-in and ticket access, play a short preview, and verify what format the content actually delivers. Opening a concert page in a headset does not automatically produce an immersive result. Standard video in a browser panel, panoramic video, stereoscopic video, and a true WebXR session are four different things with different requirements.
Meta's developer documentation outlines browser video support on Quest and describes what WebXR access looks like at the platform level. Those are capabilities; whether a particular streaming provider has built for them depends on that provider.
For a step-by-step browser route including a ten-minute pre-show test, layered troubleshooting, and how to identify the actual format from the player, read the Meta Quest browser concert guide.
A few practical notes
Headset fit comes first. Adjust the headset before playback, clear your viewing area, and remain aware of your surroundings. Start with a short test and stop if you feel uncomfortable; there is no session length that suits everyone.
Check the connection. Both sustained bandwidth and Wi-Fi stability matter. If playback stalls, pause other large transfers and test nearer the access point. A speed-test result alone does not prove that the full playback path is healthy.
Test the actual mode. Confirm that the selected performance supports the view you want. Exit and report footage that looks stretched, split, or unexpectedly flat rather than assuming a headset setting will fix its format.
Prepare a fallback for live sets. If the provider supports another device, test its access before the event. Keep the event URL available, but do not share passwords or assume that access, playback mode, or resume position transfers between services.
Make support reports specific. Include the performance title, approximate playback time, installed app version, and what you saw or heard. Never include a password or complete payment-card number.
Start here
Confirm app access, browse the current catalog, review the price and format, and test a short section. A successful test on your own headset is more useful than an installation-time estimate or a promise based on a recording label.
Use the Meta Quest getting started guide for account setup and contact VPORT Support if you need the current installation instructions.